Saratoga Springs, NY Pumpkin Carving Tips for Halloween Season
Be the envy of your neighbors in Saratoga Springs with the perfect jack-o'-lantern by using these excellent pumpkin carving tips.
Before you grab a knife and start transforming your pumpkin, here are some helpful guidelines. We'll take you all the way from picking the perfect pumpkin at a local pumpkin patch to creating a fun and distinctive design and preserving your creation so it lasts through Halloween.
Choosing the Right Pumpkin
When visiting a pumpkin patch in Saratoga Springs, select a pumpkin that is clean, bruise-free, and mold-free, with a flat bottom.
- Choose a pumpkin with a greenish, firm stem. Stay away from brittle-looking stems or pumpkins that are missing stems.
- Don't shy away from weirdly shaped pumpkins; their odd shapes could inspire a truly unique pattern.
- If you already have a design in mind, consider if it would look better on a taller rather than wider pumpkin.
- Once you have your pumpkin, avoid carrying it by the stem.
Carving Your Pumpkin
Before carving, gently wash the outside of the pumpkin with lukewarm, soapy water.
- Make sure your carving tools are clean and sharp.
- You can buy a pumpkin carving kit at local drug stores or grocery stores for smaller scraper tools and designs.
- Consider using other tools you can find around the house, such as an X-Acto knife or clay sculpting tools.
- Have a plan. Print out a copy of your design and draw it on paper before drawing on the pumpkin.
- Use a dry-erase marker to draw the image on the pumpkin so you can erase it if needed.
- Consider removing the back of the pumpkin instead of the top.
- If you do remove the top, cut at an angle, not straight up and down, so the lid won't drop inside the pumpkin when you replace it. A boning knife works well for this.
- Scoop out as much of the flesh as possible. Any left behind can lead to molding.
- Hold the pumpkin in your lap as you're carving and make clean cuts up and down, not at an angle.
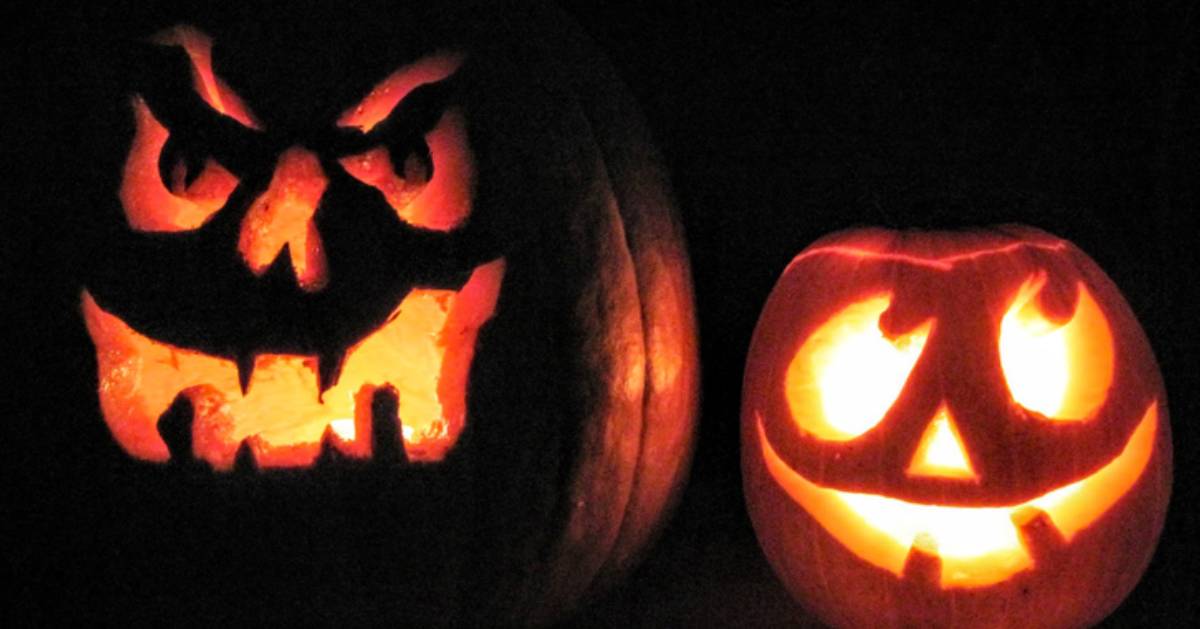
- Be creative and use props! You can create a tongue from a discarded piece of pumpkin or taffy candy, or use plastic fanged teeth on mini pumpkins.
Preserving Your Pumpkin
Timing is key, as most jack-o'-lanterns last only 5 to 10 days.
- Before carving, you can soak the entire pumpkin in a bleach solution (1 teaspoon of bleach per 1 gallon of water) for 8 hours. This has been shown to keep a pumpkin fresher for longer and works better than petroleum jelly.
- There are also "Pumpkin Fresh" sprays available that can slow mold growth and decay.
- If you don't need your jack-o'-lantern to last longer than a week, a bleach solution or spray is not necessary.
- Removing the back of the pumpkin instead of the top can also help it last longer.
- Keep the jack-o'-lantern out of direct sunlight in a cool but not freezing spot. The ideal temperature is between 50 and 55 degrees.
- If the temperature is going to drop below freezing, bring the pumpkin inside. You can temporarily store it in the fridge if needed.
- Consider using a glow stick or an LED light instead of a candle, as the flame can cook the pumpkin's flesh.
With these pumpkin carving tips, you'll be sure to have a fantastic and long-lasting jack-o'-lantern to show off to the whole neighborhood in Saratoga Springs this Halloween!
Find pumpkin patches and corn mazes in the Saratoga area »
« Back to the Halloween Guide
« Back to the Saratoga Fall Guide